PVC Fencing Install Instructions
Install Instructions – We are here to help!
Step 1-Pounding the Galvanized Steel Posts
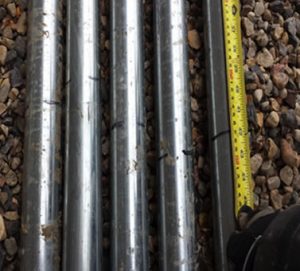
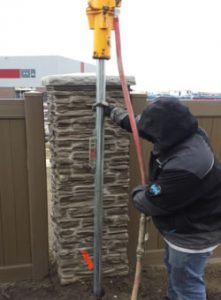
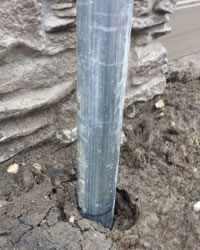
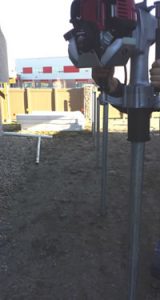
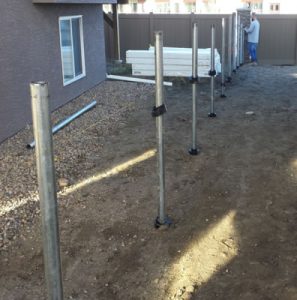
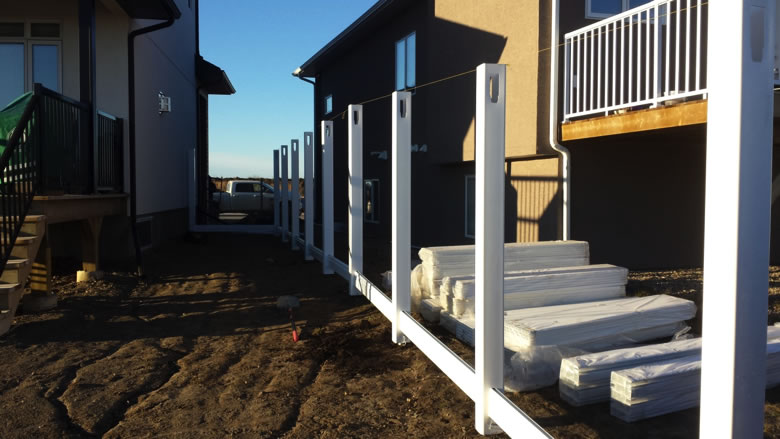
Call your local area utility company to come mark underground lines before any digging or pounding any posts into the ground. Start by laying out your fence posts to determine the best fit for the last couple sections in your run. You do not want a short section at the end. Mark your posts at 42″ then pound the posts down into the ground until you have hit your 42″ marker. Start by pounding one post at each corner of where your fence will be. Place a string line around them to make sure your posts will line up strait along the line. Use a 9′ torpedo level to help ensure the posts are level while pounding. The levelling collars will allow for some adjustment after. Put your collars on before you pound the posts into the ground.
The ideal spacing between the posts can be found by using a rail as a spacer between the posts.
Continue to pound in the post along your string line until you reach your other corner or end post.
Step 2- Setting Post Collars
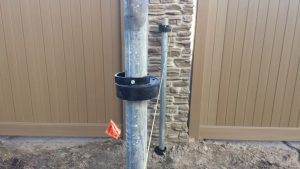
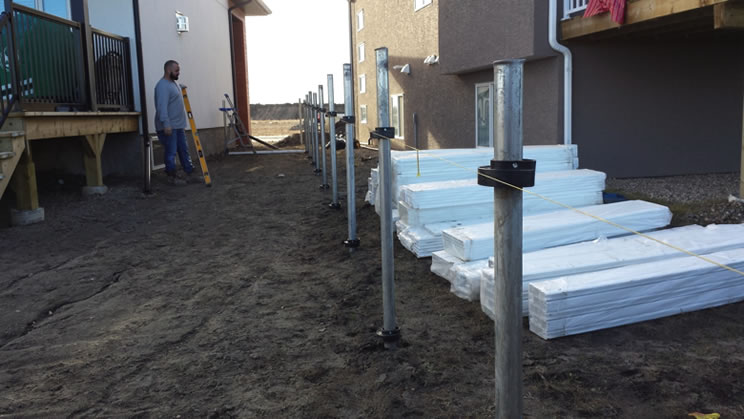
Set your top collars at each end of the run. Run a string line from the collar at one end to the other. Make sure that when the string line is run that all the collars on the other posts can reach the line. This makes sure you have a perfectly level fence.
Set and screw all your top collars to the string line.
Your bottom collar can be set a couple inches above ground level at the base of your post Setting the collar at the bottom of the post will allow for adjustment of the fence height if frost heave occurs. Use a long level to set the bottom collar level with the top collar.
Continue till all bottom collars are levelled to the top collar.
Step 3 – Setting Posts
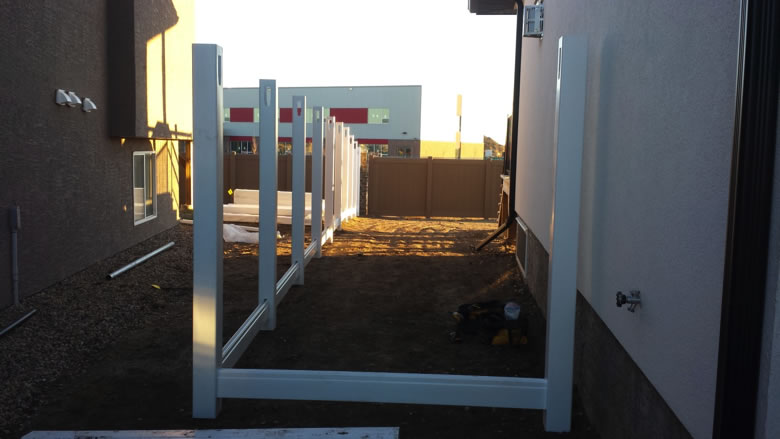
Put your 5″ x 5″ PVC posts over the steel posts and collars. Make sure you use corner posts on the corners and line posts between etc. Also, the bottoms of the posts will have a 4″ space to the rail hole, while the tops will measure 2″.
Step 4- Bottom Rails
Insert bottom rails into the PVC posts. The bottom rails will be the ones with the metal inserts (this is to prevent sag) and the top rails do not have metal inserts. The rail should go in far enough that the clip on the rail is not visible. You may need to measure and cut rails if you end up with shorter sections. Insert one side first then lift the other 5×5 post up and off the bottom collar. This will give you extra room to install the other end of the bottom rail with ease. Once the rail is in the slot place your 5×5 post back down over your bottom collar.
Step 5- Setting Post Height
You can set the height on end posts and corner posts by drilling a 3” screw (or two) into the bottom collar through the vinyl post. Use a string line running over the top of your end posts for each fence line. Then raise the rest of your posts to the string line and fasten to the collar and pipe. You can put the 3” screw through the PVC post, collar and into your steel pipe. This will provide more strength than just screwing into your collar. Use 3” or 4” self tapping screws that will reach into the steel pipe when leveling your fence.
Step 6 – Install pickets and top rails
Install your U channel centered against the 5×5 post.
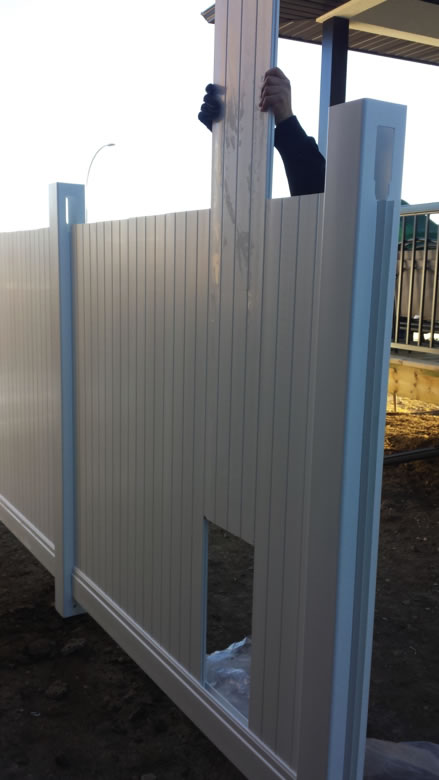
Stand your pickets in the bottom rail. You may need to use a table saw to trim down a panel if you end up with a shorter section. If you have your spacing correct you should not need to trim panels. If your fence is on a slope you may need to cut the corners of pickets at the top and bottom to accommodate for the slope. After all your pickets are in place, place the top rail over the pickets and into the posts. Make sure your rail is evenly spaced between both posts.
Step 7 – Top Rail Tie and cap
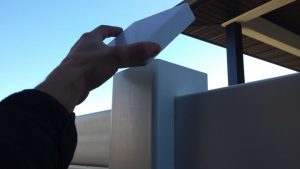
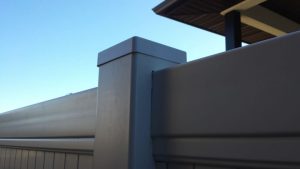
Put a square rail tie in the top of each post. It should sit flat on top of your top rails. Put a screw through the square rail tie into each rail inside the post. Lastly put your post caps on top of your 5×5 posts. You can use silicone to hold them in place if you wish.
Your all finished… enjoy your new and straight PVC vinyl fence for years to come!

